Goals
Running a Vaultwarden server with a self-signed certificate is actually quite simple.
NEW: For the very impatient I have a console only section. There are only commands, no explanations.
This simplest expansion stage of the first part is NOT suitable for public operation. Also, the Bitwarden apps can only be used in the local network!
Last updated:
- 31.12.2024: Removed TrueNAS and switched to FreeBSD Server with Bastille
- 03.03.2024: Minor adjustments and structural changes
- 01.01.2024: Major revision, no PostgreSQL, data and configuration storage outside the jail optionally added. Update for FreeBSD 13.2.
- 19.11.2022: Extension with diagram and minor adjustments.
- 30.10.2022: Initial document.
Requirements
- FreeBSD Server
- Bastille is installed and ready for use
- IP address of the VAULT jail is known
- Hostname of the VAULT jail is known (ex. vault.bsdbox.local) and reachable via internal DNS.
- An SMTP account with a provider, so that emails can be sent. Registration and a 2FA are handled via this.
Generally, such service should be set up in its own environment. This makes not only security, but also maintenance much easier. Jails can be backed up relatively easily and only the packages that are absolutely necessary are installed.
Terminology
- ADMINTOKEN = Generated string to log in to the /admim area of the Vaultwarden server
Diagramm
With this the setup looks locally like this:
                    ┌─────────────────────┐
                    │ FreeBSD             │
                    │ ┌─────────────────┐ │
                    │ │ jails/vault     │ │
LAN: 0.0.0.0:8000 ──┼─┼─► vaultwarden   │ │
                    │ │   sqlite        │ │
                    │ └─────────────────┘ │
                    └─────────────────────┘
Create jail
A separate jail is required, here we use vault as the jail name.
Set up jail
Either use bastile console vault to start a console in the created jail, or log in via SSH (if activated) with ssh USERNAME@IP or ssh USERNAME@HOSTNAME to then gain root rights with su.
Customize package source
Package sources should be customized, see separate article.
Install packages & activate services
Now update the package source with pkg update and install the required packages: pkg install -y vaultwarden libargon2.
Enable services so that they start automatically when the jail is started: service vaultwarden enable.
Vaultwarden
Create Admin Token
The following command generates a random and long string: openssl rand -base64 48, which we will use as ADMINTOKEN, ex. bznRfGlBEDrZS8HBmELgEtPMMUX7p/HJrCn47tEVT2d8ejjyfYCfXSMbUfewtUca. This can be used later to access the Admin Portal of Vaultwarden. So remember well!. However, this is not included in the configuration file, but a hash generated by argon2 with echo -n ‘bznRfGlBEDrZS8HBmELgEtPMMUX7p/HJrCn47tEVT2d8ejjyfYCfXSMbUfewtUca’ | argon2 ‘$(openssl rand -base64 32)’ -e -id -k 65540 -t 3 -p 4 is generated.
Create certificate (self-signed)
The Vaultwarden service should never be accessed in plain text, but should be called via a secure connection, even locally.
The following command creates a self-signed certificate. Although this will generate a warning in the browser (once), it ensures an encrypted connection.
install -o www -g www -d /usr/local/www/vaultwarden/data/ssl/
openssl req -new -x509 -days 3650 -nodes -keyout /usr/local/www/vaultwarden/data/ssl/vault.key -out /usr/local/www/vaultwarden/data/ssl/vault.crt -subj "/C=DE/ST=NRW/L=ERKRATH/O=BSDBOX/OU=IT/CN=vault.bsdbox.local"
Then OpenSSL will ask a few questions that need to be answered (at least the HOSTNAME should be adjusted)
Country Name (2 letter code) [AU]: DE
State or Province Name (full name) [Some-State]: NRW
Locality Name (eg, city) []: ERKRATH
Organization Name (eg, company) [Internet Widgits Pty Ltd]: BSDBOX
Organizational Unit Name (eg, section) []: IT
Common Name (e.g. server FQDN or YOUR name) []: vault.bsdbox.local
Email Address []:
The keys generated in this way are secured against prying eyes with chown www:www /usr/local/www/vaultwarden/data/ssl/*.
Configration customize
Compared to the standard configuration supplied, this has a few changes:
- Vaultwarden listens on all IP addresses, not just localhost (
ROCKET_ADDRESS) - HTTPS enabled (
ROCKET_TLS) - E-mail notifications via SMTPS are activated (
SMTP_HOST) - Admin token set (
ADMIN_TOKEN) - Organizations activated (
ORG_GROUPS_ENABLED)
Copy the initial configuration file with cp /usr/local/www/vaultwarden/data/config.json.sample /usr/local/etc/rc.conf.d/vaultwarden and customize it with ee /usr/local/etc/rc.conf.d/vaultwarden. Adjust ADMINTOKEN and HOSTNAME.
ROCKET_ADDRESS=0.0.0.0
export ROCKET_ADDRESS
ROCKET_PORT=8000
export ROCKET_PORT
ROCKET_TLS='{certs = "/usr/local/www/vaultwarden/data/ssl/vault.crt", key = "/usr/local/www/vaultwarden/data/ssl/vault.key"}'
export ROCKET_TLS
ADMIN_TOKEN='ADMINTOKEN'
export ADMIN_TOKEN
DOMAIN='https://HOSTNAME'
export DOMAIN
SIGNUPS_ALLOWED=true
export SIGNUPS_ALLOWED
ORG_GROUPS_ENABLED=true
export ORG_GROUPS_ENABLED
... and finally start the Vaultwarden service: service vaultwarden start.
Calling up Vaultwarden
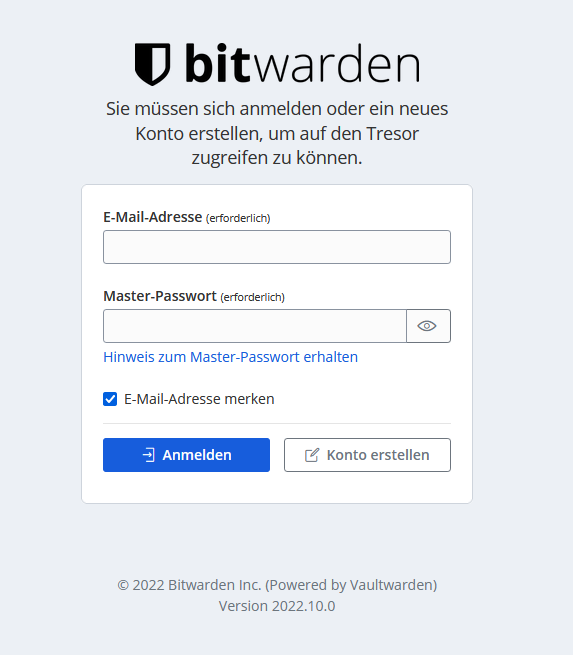
Vaultwarden can then be reached at https://IP:8000 or https://HOSTNAME:8000.
The admin console can be called with an /admin behind the used address (use the ADMINTOKEN!) and from now on all further settings will be done there as well.

Everyone (local) can now register on the server and store their own vaults and passwords. To do this, the email sending must work so that the email addresses can be verified. This can also be set via the admin website.
Start over
service vaultwarden stop
pkg delete -a
rm /usr/local/etc/rc.conf.d/vaultwarden
rm -rf /usr/local/www/vaultwarden
Console
Voilá
