Introduction
I don't think much more needs to be said today about how great ZFS is as a file system. Word has got around. Here is how new hard disks are integrated into a ZFS pool and what the first steps are so that your own data has a proper home. In this article we will prepare the hard disks, create the ZFS pools and carry out some optimisations.
NEW: For the very impatient I have a console only section. There are only commands, no explanations.
Last update:
- 01.12.2024: Attribut
autoexpandadded - 01.12.2024: Replacement of a defective hard drive added as a chapter
- 01.12.2024: Tiny tuning with
glabelundgpart. Error corrected withzpool create.TRIMundSCRUBactivated. Added a dataset placeholder - 16.11.2024: Initial document
Basics
- The Basic settings for the system have been made
- As already outlined in main article, the data is distributed across several ZFS pools in order to store it separately from the base system:
- The data is located on a hard disc array in raidz2 (data) and is listed here as devices
ada0 - ada3. - The VMs and jails are located on two mirrored SSDs (work) with the devices
ada4 - ada5.
- The data is located on a hard disc array in raidz2 (data) and is listed here as devices
Partitioning
Before the hard disks are combined in a ZFS pool, I recommend making some preparations to ensure that the hard disks are always empty, always have the same partition scheme and, above all, have a meaningful name.
Delete hard disks
With gpart destroy DEVICE the hard drive is completely cleared of everything that could interfere later.
A list of recognised hard disks can be created with camcontrol devlist.
**Important: Adapt the devices! Any data already on the hard drives will be irretrievably destroyed.
gpart destroy -F ada0 # Destroys the partition table on ada0
gpart destroy -F ada1
gpart destroy -F ada2
gpart destroy -F ada3

gpart destroy -F ada4
gpart destroy -F ada5
Initialise hard disks
With gpart create -s TYPE DEVICE the hard disks are given a certain basic structure, which is particularly important for the later case when a hard disk fails and has to be replaced.
gpart create -s gpt ada0 # Creates a new partition table on ada0
gpart create -s gpt ada1
gpart create -s gpt ada2
gpart create -s gpt ada3

gpart create -s gpt ada4
gpart create -s gpt ada5
Read out serial number
What is already clear here is that ada0 - ada5 is not very ‘handy and comprehensible’, and the order and device names can also change from time to time. In any case, it becomes problematic if the hard disks are moved to a new server, which turns the device names completely upside down. Assignment is then difficult. It is also difficult to identify and replace a defective hard drive in a larger hard drive network. The solution: To be able to address the hard drive with a name, simply give it one. Ideally with something that is already on the hard drive anyway: The serial number.
Automatically
The very brave can also run this in a loop (adapt ada0 ada1 ada2 ada3 ada4 ada5!).
DEVICELIST="ada0 ada1 ada2 ada3 ada4 ada5"; for DEVICE in $DEVICELIST; do gpart create -s gpt $DEVICE && gpart add -t freebsd-zfs -l "$(camcontrol identify $DEVICE | sed -n 's/.*serial number.*\(.\{4\}\)$/\1/p')" -a 4K "$DEVICE"; doneThis command can be used to list which hard drive has received which label:
glabel list | grep -E "Geom name|1\. Name: gpt" | awk -F": " '/Geom name/ {geom=$2}/1\. Name/ {name=$2; print geom " = " name}'Manually
If you are not familiar with the loop, the individual steps are as follows:
With camcontrol identify DEVICE | sed -n ‘s/.*serial number.*\(.\{4\}\)$/\1/p’ the last 4 digits of the serial number are determined and noted.
ada0: HPAS (from serial number WD-XXXXXXXXHPAS)
ada1: E9EY (from serial number WD-XXXXXXXXE9EY)
ada2: 46EE (from serial number WD-XXXXXXXX46EE)
ada3: LLAK (from serial number WD-XXXXXXXXLLAK)

ada4: 2482 (from serial number SXXXXXXX2482)
ada5: 7815 (from serial number SXXXXXXX7815)
When partitioning with gpart add -t FILESYSTEM -l LABEL -a BLOCKSIZE DEVICE, the name determined is saved directly as a label. Practical, isn't it?
gpart add -t freebsd-zfs  -l "HPAS" -a 4K "ada0" # Creates a new FreeBSD partition with the name HPAS
gpart add -t freebsd-zfs  -l "E9EY" -a 4K "ada1"
gpart add -t freebsd-zfs  -l "46EE" -a 4K "ada2"
gpart add -t freebsd-zfs  -l "LLAK" -a 4K "ada3"

gpart add -t freebsd-zfs  -l "2482" -a 4K "ada4"
gpart add -t freebsd-zfs  -l "7815" -a 4K "ada5"
Set up pools
zpool create -m /mnt/data data raidz2 /dev/gpt/HPAS /dev/gpt/E9EY /dev/gpt/46EE /dev/gpt/LLAK # Created Zpool data as raidz2
zpool create -m /mnt/work work mirror /dev/gpt/2482 /dev/gpt/7815 # Creates Zpool work as a mirror
Tuning pools
That's a bit of a matter of taste. In my opinion, however, some attributes are quite useful for storing data efficiently and reducing the load on the hard disks. This is achieved with so-called ZFS attributes, which are later inherited from the main level to the volumes and datasets created below. It therefore makes sense to set these directly during installation.
zfs set compression=lz4= Compresses files during operation and thus enables more data to be stored on limited storage spacezfs set atime=off= Improves performance on file systems with many small files that are accessed frequentlyzfs set xattr=sa= Stores extended attributes in inodes, resulting in fewer hard drive requirementszfs set acltype=nfsv4= Enables the use ofgetfacl, setfaclfor additional access rightszfs set autoexpand=on= Automatically expands the storage space of a pool when all hard drives have been replaced with larger models
zfs set compression=lz4 atime=off xattr=sa acltype=nfsv4 autoexpand=on data # Writes the attributes to the pool data
zfs set compression=lz4 atime=off xattr=sa acltype=nfsv4 autoexpand=on work
Execute regular TRIM and SCRUB tasks
- https://man.freebsd.org/cgi/man.cgi?query=trim The trim utility erases specified region of the device. It is mostly relevant for storage that implement trim (like flash based, or thinly provisioned storage). All erased data is lost.
- https://man.freebsd.org/cgi/man.cgi?query=zpool-scrub
The scrub examines all data in the specified pools to verify that it checksums correctly. For replicated (mirror, raidz, or draid) devices, ZFS automatically repairs any damage discovered during the scrub.
sysrc -f /etc/periodic.conf daily_scrub_zfs_enable="YES"
sysrc -f /etc/periodic.conf daily_trim_zfs_enable="YES"
sysrc -f /etc/periodic.conf daily_status_zfs_enable="YES"
Reserved Space
- Stefano Marinelli has another good tip to prevent pool problems with too little or no space left:
Like all CoW (Copy-on-Write) file systems, ZFS will not be able to release space when it is completely full. If we create reserved storage space, the system can always release it again and delete other data so that the system continues to function normally. Don't worry, this is only a reservation, not a permanently allocated storage space.zfs create data/reserved && zfs set reservation=5G data/reserved zfs create work/reserved && zfs set reservation=5G work/reserved zfs create zroot/reserved && zfs set reservation=5G zroot/reserved
The result can be checked with zpool status data.
  pool: data
  state: ONLINE
  scan: scrub repaired 0B in 00:03:52 with 0 errors on Fri Nov  8 00:07:34 2024
  config:

    NAME          STATE     READ WRITE CKSUM
    data          ONLINE       0     0     0
      raidz2-0    ONLINE       0     0     0
        gpt/HPAS  ONLINE       0     0     0
        gpt/E9EY  ONLINE       0     0     0
        gpt/46EE  ONLINE       0     0     0
        gpt/LLAK  ONLINE       0     0     0
We have now set up the hard drives and the data can be stored securely.
Replacing
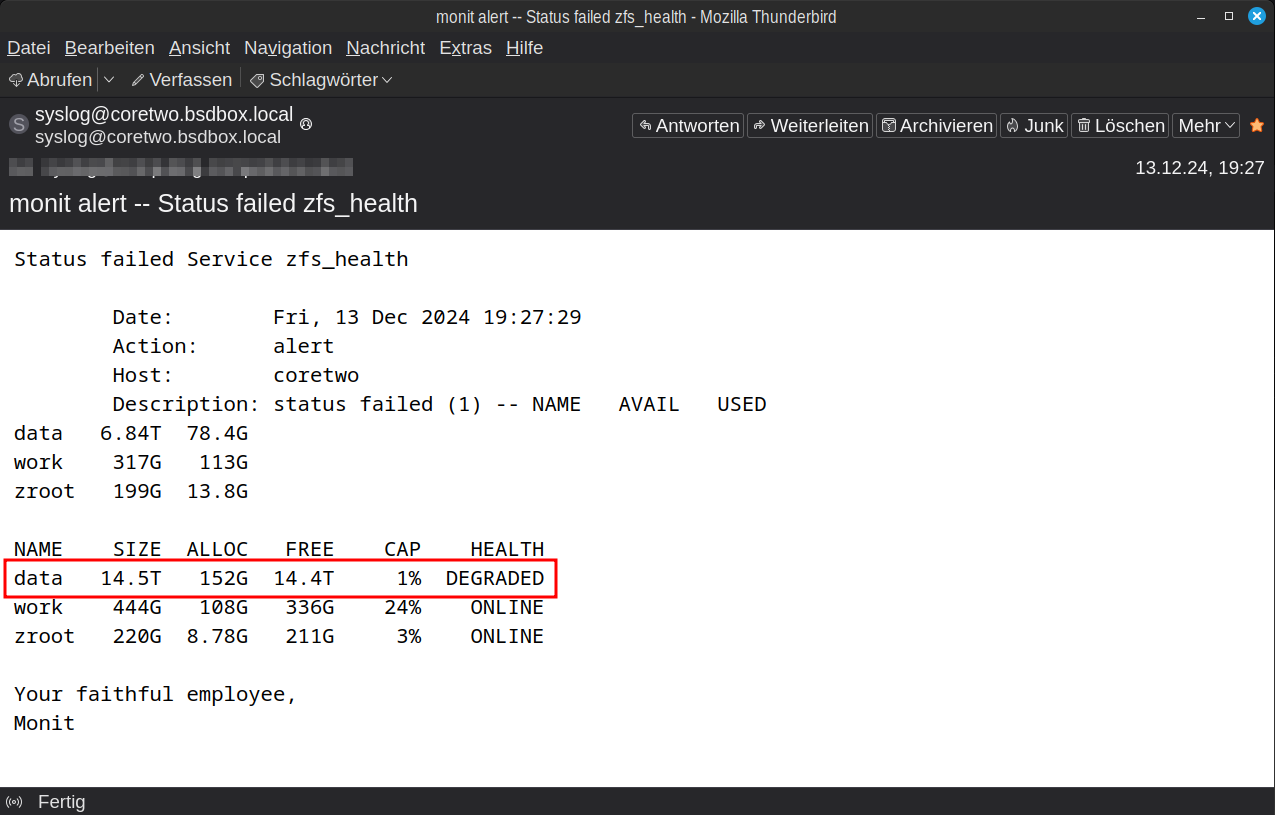
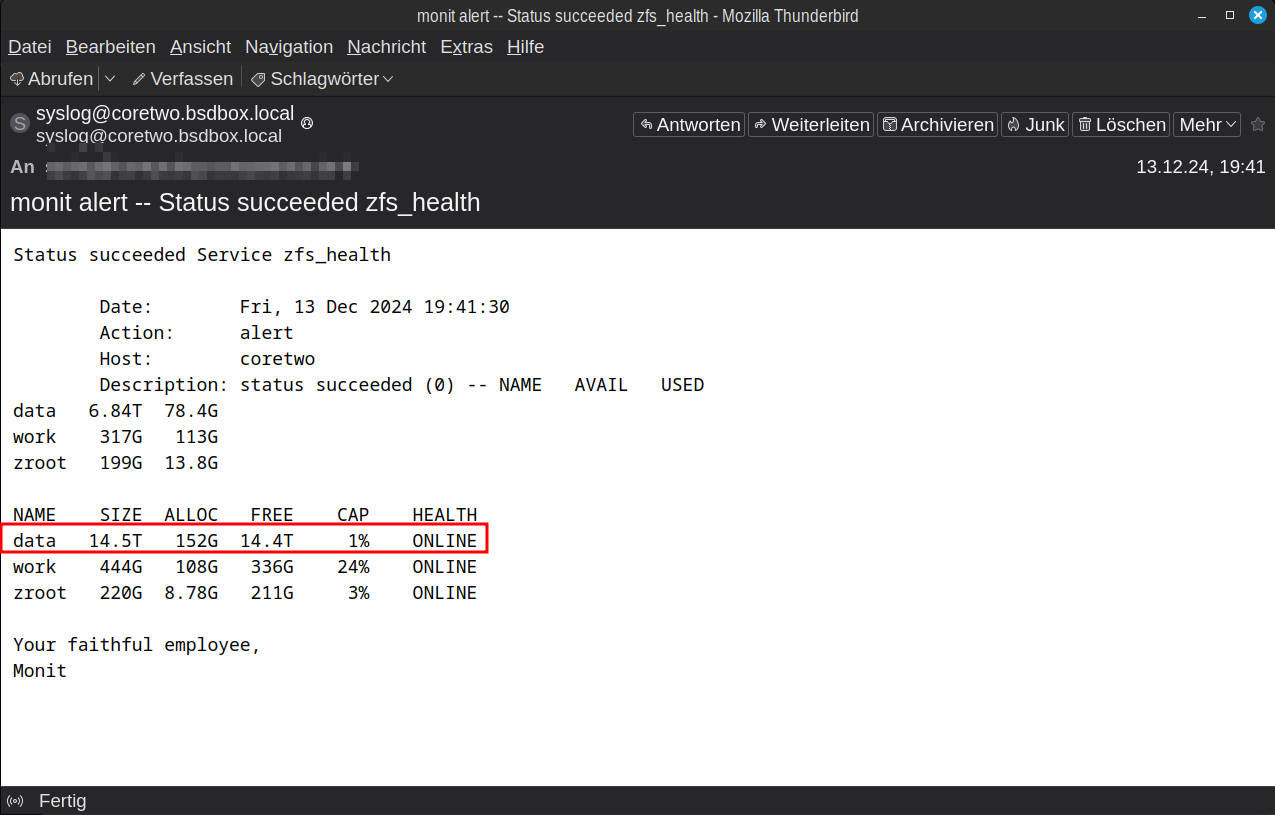
Hard drives break. It's not a question of if, but only when. With ZFS, this has lost its horror. Due to the double redundancy, the time pressure is not so great and the simplicity of the replacement makes it purely routine. Here is a brief explanation of what to do if Monit has reported a ZFS error by e-mail.

- Log into your server via SSH
- Capture the ZPool status with
zpool status datato identify the hard drive and we see: The hard driveada1with the labelE9EYis missing in the pooldatapool: data state: DEGRADED status: One or more devices could not be opened. Sufficient replicas exist for the pool to continue functioning in a degraded state. action: Attach the missing device and online it using 'zpool online'. see: https://openzfs.github.io/openzfs-docs/msg/ZFS-8000-2Q scan: resilvered 37.0G in 00:07:13 with 0 errors on Fri Dec 13 19:37:47 2024 config: NAME STATE READ WRITE CKSUM data DEGRADED 0 0 0 raidz2-0 DEGRADED 0 0 0 gpt/HTYM ONLINE 0 0 0 15911638719903526001 UNAVAIL 0 0 0 was /dev/gpt/E9EY gpt/46EE ONLINE 0 0 0 gpt/LLAK ONLINE 0 0 0 - Shut down the server. My small server here does not have a hot-plug (with larger boxes this can also happen during operation)
- Remove the old hard drive and insert the new one, making a quick note of the serial number to be on the safe side
- Use
camcontrol devlistto identify which of theadaXdevices is the new hard drive =ada1. There must be no confusion here!<HGST HUS728T8TALE6L4 V8GNW9U0> at scbus0 target 0 lun 0 (pass0,ada0) <HGST HUS728T8TALE6L4 V8GNW9U0> at scbus1 target 0 lun 0 (pass1,ada1) <WDC WD40EFPX-68C6CN0 81.00A81> at scbus2 target 0 lun 0 (pass2,ada2) <WDC WD40EFPX-68C6CN0 81.00A81> at scbus3 target 0 lun 0 (pass3,ada3) <SAMSUNG MZ7LH480HAHQ-00005 HXT7404Q> at scbus4 target 0 lun 0 (pass4,ada4) <SAMSUNG MZ7LH480HAHQ-00005 HXT7904Q> at scbus5 target 0 lun 0 (pass5,ada5) <AHCI SGPIO Enclosure 2.00 0001> at scbus6 target 0 lun 0 (ses0,pass6) <ATP NVMe M.2 2280 SSD A230W2EJ> at scbus7 target 0 lun 1 (pass7,nda0) - Prepare the hard disc:
camcontrol identify ada1 | sed -n 's/.*serial number.*\(.\{4\}\)$/\1/p'determines the last four digits of the serial number =HDSM. Always compare so that the correct hard drive is really ‘hit ’gpart destroy ada1deletes the hard disk to ensure that there is really nothing on it. The command generates an ‘error’ alagpart: arg0 ‘ada1’: Invalid argumentif there is nothing to destroy. This can then be ignored!gpart create -s gpt ada1creates the GPT partition tablegpart add -t freebsd-zfs -l HDSM -a 4K ada1creates a FreeBSD partition with the labelHDSM.
- The last step is to replace the old hard drive with the new one in the
datapool withzpool replace POOLNAME OLDDISK NEWDISK, in my example:zpool replace data gpt/E9EY gpt/HDSM. - After replacing the hard drive, the alarm is ‘cleared’.

Console
For example with ada0 - ada3 for zpool data and ada4 - ada5 for zpool work.
Important: Adapt the devices! Any data already on the hard disks will be irretrievably destroyed.
Voilá
